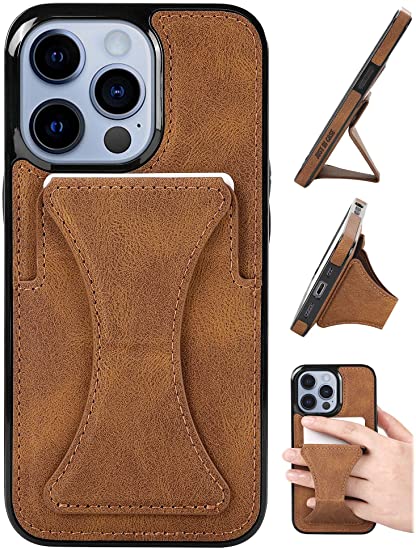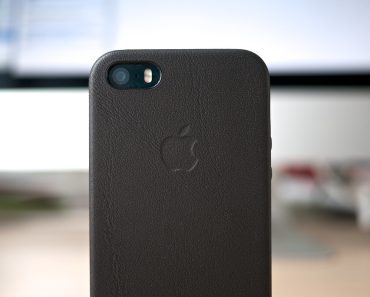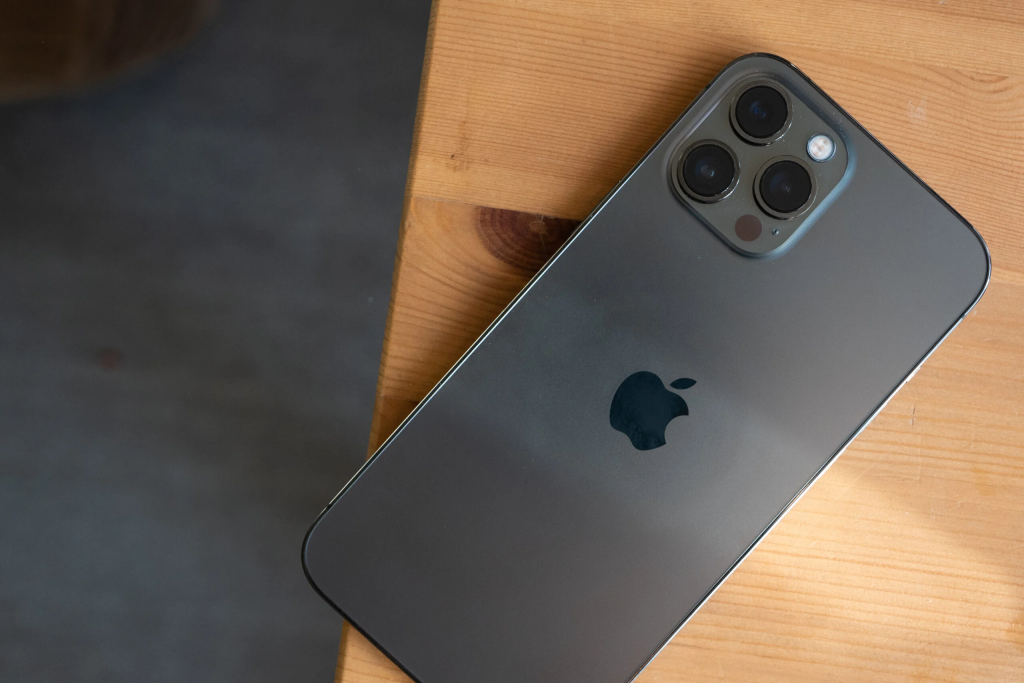
1.) Prepare by removing any distractions and putting down a cushiony surface on your desk.
Move aside any unnecessary items, and most importantly, cover your immediate work area with something soft, such as a folded towel. The last thing you want to do is drop your phone on the floor or a hard surface and harm it. Let’s not forget that this is the primary purpose of having a case in the first place.
2.) Place the iPhone in the top-left corner of the case.
With your left hand, grab the case (opening side up) and on your right, the phone (screen side up). Slide the top left corner of your iPhone into the case towards the ringer and volume button cut-outs/button covers slowly. Don’t worry if these features aren’t perfectly aligned now – they’ll click in later. With your left hand, gently pinch and grasp this position.
3.) Snap to the top-right and bottom-right corners simultaneously.
Slide your right hand down the phone and case, applying constant pressure to the bottom-right corner with the top-left corner still inserted and pinched. Now, give this corner a good strong pinch between your index finger and thumb. It should snap into place immediately.
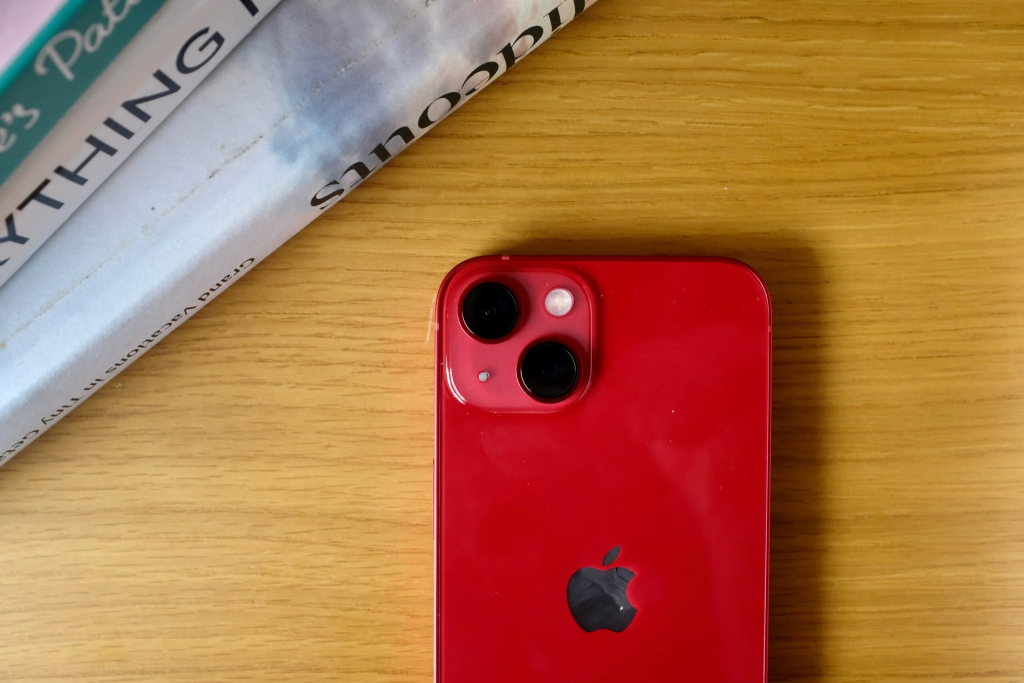
4.) Slip the last, bottom-left corner into place and secure it.
It may take a few tries to get the third corner secured. It’s sometimes as simple as gently pinching the final edge of the phone case in order to secure it. If not, and the end of the case is folding beneath the phone, try sliding the case on using a business card. Insert a business card into the gap between the iPhone and the cover, then slide it down along the edge of the iPhone towards the last corner while snapping it on.
5.) Confirm that the cut-outs and/or button coverings are in alignment.
The case should be fully installed at this point, which means all of the cutouts and button covers should align with all of the buttons and ports.
Pro-tip: Sometimes when putting on your phone, you may inadvertently switch the ringer on or off, so double-check.
